
Lawn
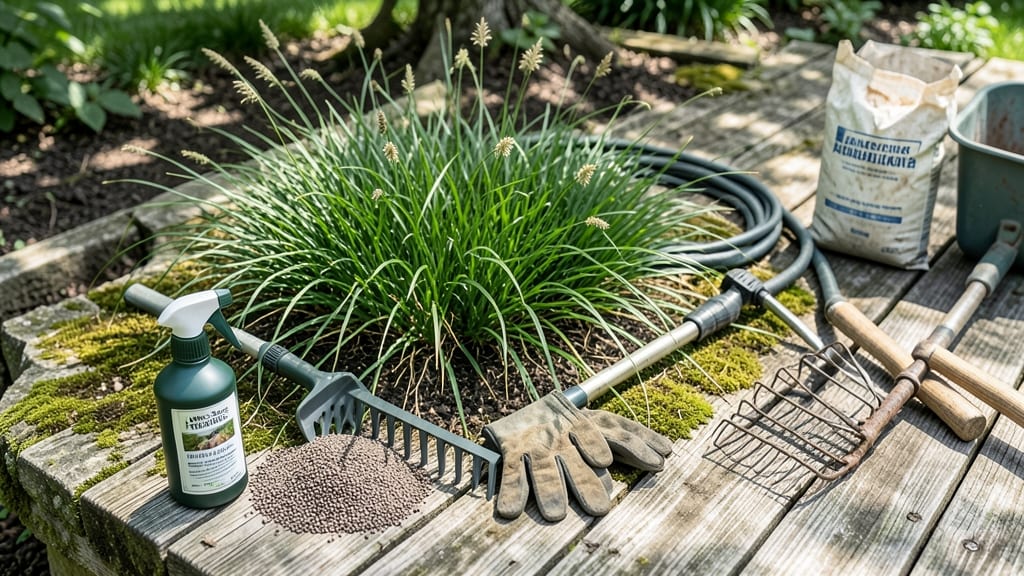
Controlling moss on lawns starts with a pre-emergent barrier—the secret weapon that stops it before it takes over.
A thick carpet of moss isn’t just unsightly—it’s a silent thief of your lawn’s health, stealing nutrients and crowding out grass. But what if you could stop it before it starts with a simple, science-backed barrier?
Most people wait until moss spreads, then scramble with sprays or raking—only to see it bounce back. The real fix? A three-step pre-emergent barrier applied at the right time, which smothers spores before they germinate.
In this guide, I’ll walk you through the exact steps, tools, and timing to create a moss-proof shield for your lawn—no more patchy, spongy ground forever.
How a pre-emergent barrier stops moss growth before it begins
A pre-emergent barrier is your lawn’s first line of defense against moss, working like an invisible shield that stops spores from sprouting. Unlike post-treatment sprays that attack existing moss, these barriers disrupt the germination process at the cellular level, preventing new growth entirely.
Think of it as a moss-proof firewall for your grass.
The magic happens with active ingredients like oxadiazon or dithiopyr, which interfere with moss spores' ability to develop roots. These compounds create a chemical barrier in the soil that lasts 3-6 months, depending on the product.
When moss spores land on treated soil, they simply can’t grow—it’s like trying to plant seeds in a desert.
Why pre-emergent beats post-treatment: Sprays kill existing moss but leave spores dormant in the soil, ready to rebound. A barrier stops the problem before it starts, saving time and effort. It’s the difference between putting out fires and preventing them entirely.
Timing is everything—apply barriers in early fall (September-October) or late winter (February-March) when moss spores are most active but before they germinate. This seasonal window ensures you’re blocking spores at their most vulnerable stage, not after they’ve already taken root.
The most effective barriers work best in moist, shady, or acidic soils—the same conditions moss loves. If your lawn has compacted soil or poor drainage, these issues must be fixed first.
A barrier won’t work miracles on a lawn with underlying problems, so combine it with aeration or lime for best results.
🌱
| Key Factor | Best Practice | Why It Matters |
|---|---|---|
| Active Ingredient | Oxadiazon or Dithiopyr | Disrupts moss spore growth at cellular level |
| Application Window | Early fall or late winter | Targets dormant spores before germination |
| Soil Conditions | Moist, shady, acidic | Moss thrives here—barriers work best in these zones |
| Duration | 3-6 months | Covers moss’s active growing seasons |
| Post-Treatment Care | Light watering, no foot traffic | Prevents barrier from washing away |
Not all barriers are equal—some products contain corn gluten meal, a natural pre-emergent that also feeds soil microbes. While effective, it’s less potent than synthetic options like oxadiazon. For heavy moss infestations, a two-step approach works best: apply a barrier and overseed with moss-resistant grass like fine fescue.
One common mistake? Applying barriers when the ground is too dry or frozen. The active ingredients need moisture to activate, so water lightly 24 hours before application. Overwatering afterward can dilute the barrier, reducing its effectiveness. Aim for consistent, light moisture for the first week post-treatment.
For long-term success, combine your barrier with soil amendments. Moss loves acidic soil (pH below 6.0), so add lime to raise pH to 6.5-7.0. Pair this with regular aeration to improve drainage, and your lawn will become a moss-free zone year-round.
🌿
Remember: a pre-emergent barrier isn’t a one-and-done solution. Reapply every 6 months during moss’s active seasons (fall and spring) for continuous protection. With the right timing, soil prep, and follow-through, you’ll outsmart moss before it even gets started.
Step-by-Step guide to applying a moss-proof barrier on your lawn
A moss-proof barrier is your best defense against those unsightly green patches stealing your lawn’s spotlight. The key to success lies in timing, preparation, and proper application.
Unlike quick-fix sprays, a barrier works by preventing moss spores from germinating in the first place—think of it as a shield for your grass roots.
Before you start, check your soil moisture and weather forecast. Ideal conditions include dry soil (no standing water) and a 5-7 day dry forecast post-application. Rain within 24 hours can wash away the barrier, making it ineffective. Let’s roll up our sleeves and get started!
- ✅ Step 1: Prep Your Lawn
Remove all debris (leaves, moss clumps) using a rake or leaf blower. Mow the lawn to a 2-3 inch height for even coverage.
- ✅ Step 2: Gather Tools
You’ll need:
- Broadcast spreader (for granular barriers)
- Garden gloves (to avoid skin irritation)
- Watering can (for post-application watering)
- ✅ Step 3: Apply the Barrier
Follow the product’s application rate (typically 1-2 lbs per 100 sq ft). Use a spreader for even distribution, overlapping slightly for full coverage.
- ✅ Step 4: Water Lightly
Apply a light watering (¼ inch) to activate the barrier. Avoid deep watering for 48 hours to prevent runoff.
- ✅ Step 5: Maintain the Barrier
Avoid foot traffic for 24-48 hours and reapply every 3-6 months (or as directed) for continuous protection.
One of the biggest mistakes I see is skipping soil prep. Uneven application or missed spots can leave moss-free zones vulnerable. Always double-check for gaps or clumps after spreading. If you miss a spot, spot-treat it immediately with a targeted moss killer.
After application, monitor your lawn for signs of stress like yellowing grass. This can happen if the barrier is too strong or if you overwater. Adjust your watering schedule to shallow, frequent sessions (like morning dew) to keep moss at bay without overwhelming your grass.
Remember, a moss-proof barrier isn’t a one-time fix. Combine it with regular aeration and overseeding in spring to create a thick, competitive grass mat that moss can’t penetrate. With patience and consistency, you’ll reclaim your lawn’s lush green glory in no time!