
Lawn
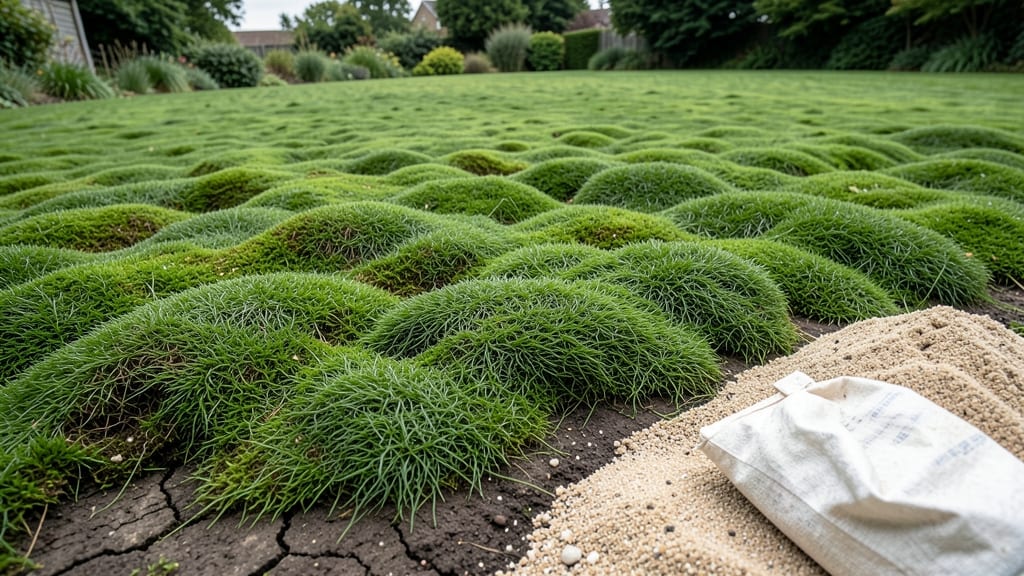
Struggling with stubborn creeping weeds that won’t stay down? These 10 persistent lawn invaders spread aggressively—but these chemical-free methods actually eliminate them for good, restoring your grass without harsh toxins.
Creeping Charlie Elimination Using Vinegar Spray
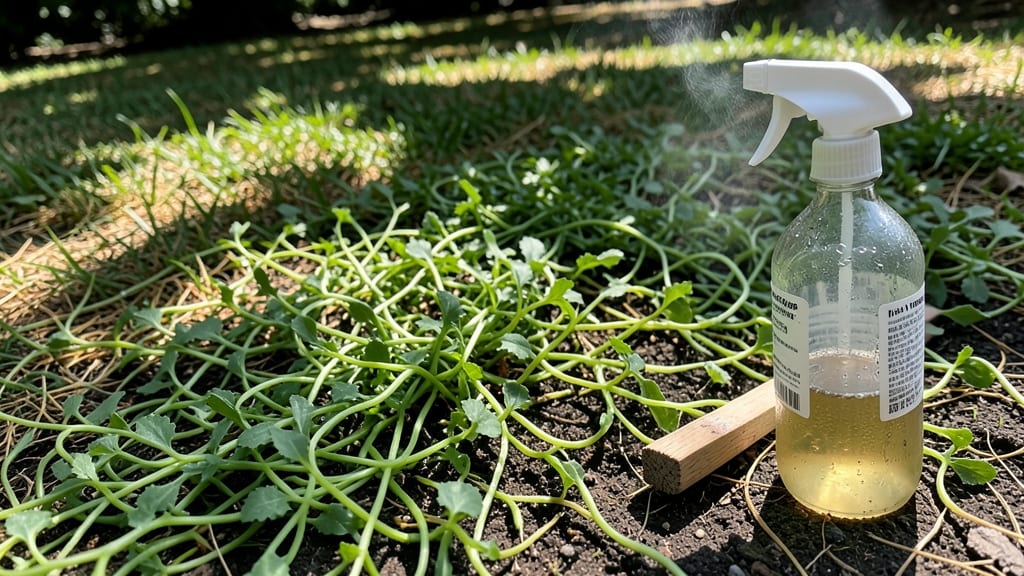
Tired of Creeping Charlie turning your lawn into a lush green carpet of unwanted growth? This shade-loving weed spreads aggressively via stolons, but a simple vinegar spray can stop it in its tracks—naturally. The key is acting fast on small patches before it takes over.
Mix 1 gallon of white vinegar (5% acetic acid) with 1 ounce of dish soap in a spray bottle. Apply directly to the leaves on a dry, sunny day—avoid spraying grass to prevent damage. Reapply every 3-5 days until the weeds turn crispy brown. For best results, target early morning or late afternoon to minimize evaporation.
This method is perfect for organic-certified lawns or gardeners who prefer chemical-free solutions. Just remember: vinegar works best on small infestations before stolons spread further. 🌿
Dandelion Root Digging with Manual Tools
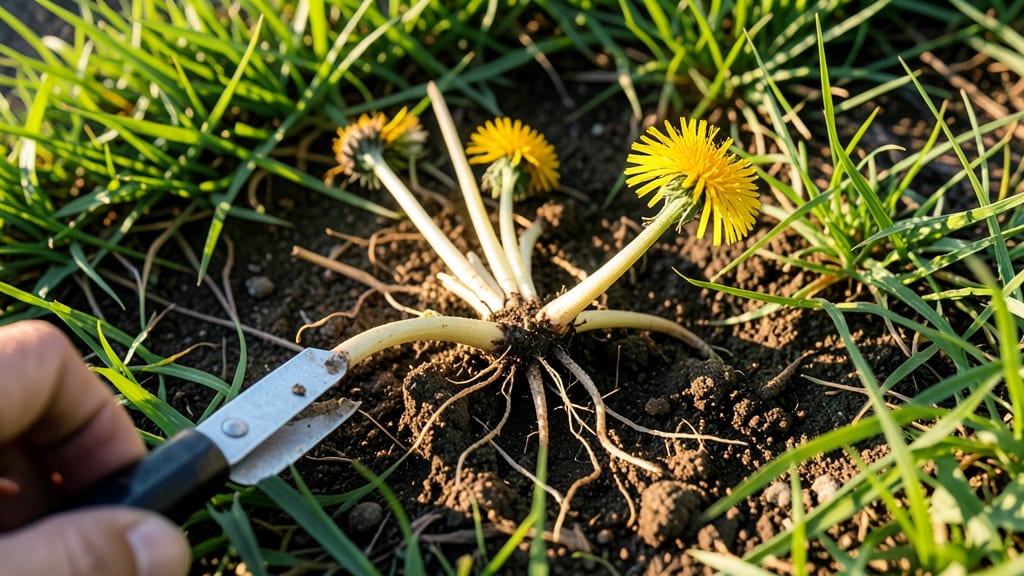
Dandelions might look harmless, but their deep taproots can plunge up to 15 inches into the soil—meaning one missed root means a persistent comeback. Unlike surface weeds, these invaders thrive on regrowth, making manual removal your best bet for a truly weed-free lawn.
Start by using a dandelion weeder (or a sturdy fork) to grip the base of the plant just below the soil line. Twist firmly while pulling upward to extract the entire root—even small fragments can sprout new plants. For stubborn roots, soak the area with water first to loosen the soil. This method is zero-waste and works beautifully for eco-conscious gardeners who avoid herbicides.
Perfect for small patches or container gardens, this approach also prevents soil compaction. Just remember: consistency is key—check for regrowth weekly until your lawn stays dandelion-free. 🌻
Clover Smothering with Cardboard Mulch
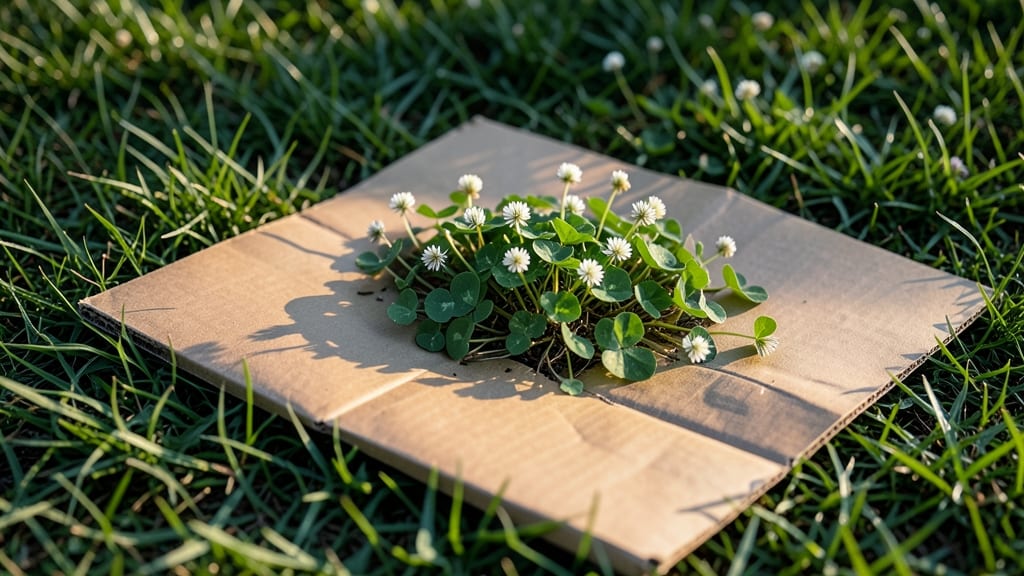
Tired of clover turning your lawn into a patchwork of green and white? Instead of chemicals, try a zero-waste method that smothers clover while preparing your soil for new grass. Cardboard mulch blocks sunlight, starving the weed roots without harming the environment or your future plants.
Lay down flattened cardboard (no tape or glossy finishes) over the clover patch, overlapping edges by 2 inches. Water it thoroughly to help it stick to the soil. The cardboard breaks down over 4-6 weeks, leaving nutrient-rich compost that benefits new grass or native plants. This method is perfect for late summer or early fall when clover is most active but before reseeding season.
Gardeners transitioning to native grass or preparing for overseeding will love this approach—it’s pet-safe, budget-friendly, and reduces landfill waste. Just avoid treated cardboard to prevent ink leaching into the soil. 🌱
Nutsedge Control with Boiling Water
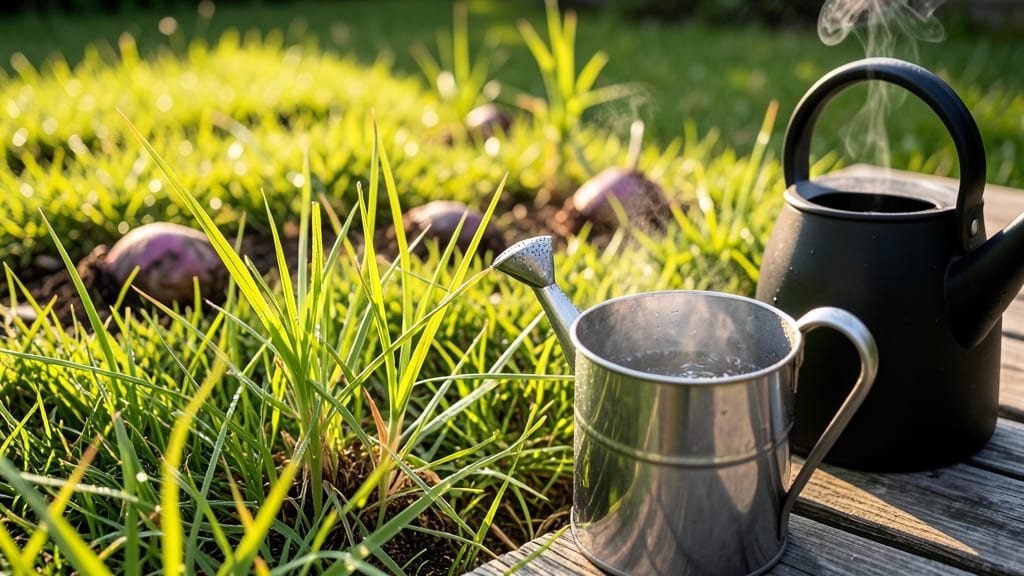
When nutsedge invades your lawn with its distinctive triangular stems, you need a method that acts faster than pulling weeds one by one. Boiling water delivers instant results—the high heat sears the roots on contact, preventing regrowth in just minutes.
Fill a kettle or watering can with boiling water and pour it directly over the nutsedge patches, focusing on the base where roots meet soil. This method works best in small, isolated areas (under 2 square feet) where you can target the weed precisely. For larger infestations, repeat the treatment every 3–5 days until the area is clear. Avoid this method on grass you want to keep—it’s equally effective but indiscriminate.
Perfect for gardeners who prefer quick, chemical-free solutions, boiling water is especially useful in moist soil where nutsedge thrives. Just be prepared to act fast—this weed spreads rapidly! 💡
Bindweed Suffocation with Black Plastic Sheets
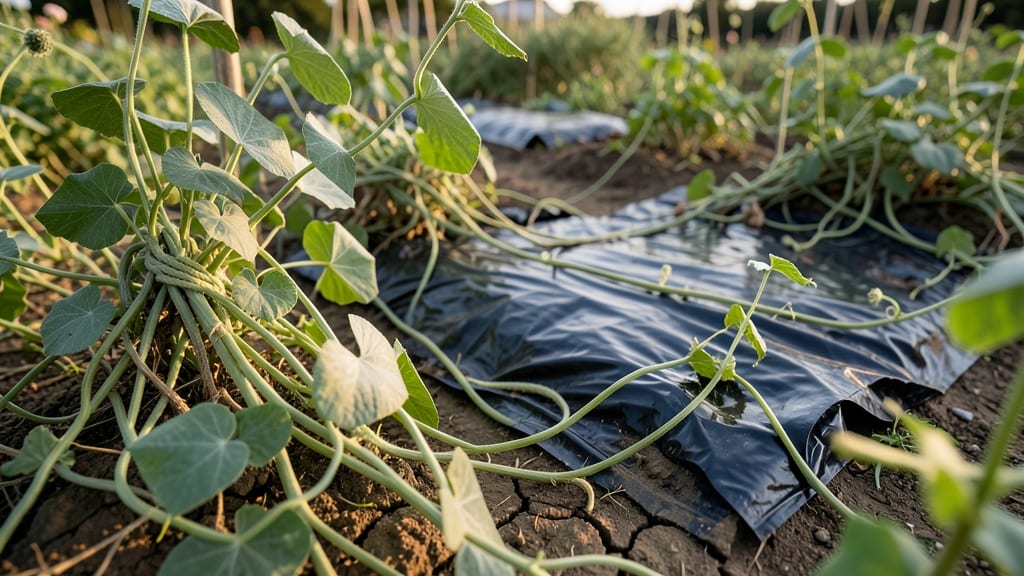
When bindweed takes over your garden, no amount of pulling or spraying seems to work—because its roots spread underground like a hidden network. This perennial weed can strangle plants and persist for years, but suffocating it with black plastic sheets is one of the most effective ways to starve it out completely.
Lay heavy-duty black plastic over the infested area, securing the edges tightly to block all sunlight. The roots, deprived of light, will weaken and die within 6–12 months, depending on the season. This method is ideal for large infestations where manual removal would be impossible. Just ensure the plastic stays in place year-round for best results.
Gardeners with overgrown beds or those preparing land for new plantings will find this technique especially valuable. It’s a low-maintenance, chemical-free solution that saves time and effort in the long run. 💪
Chickweed Removal Using Saltwater Solution
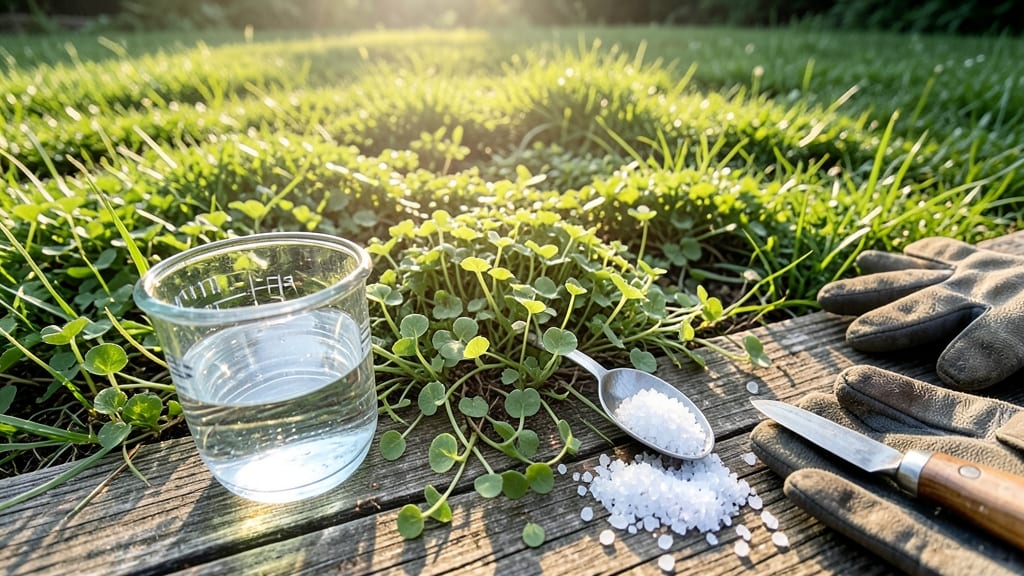
When chickweed takes over your lawn in late spring or summer, a saltwater solution offers a quick fix for those soft-stemmed weeds. This method works by disrupting the plant's cell structure, making it ideal for small, isolated patches where other tools aren’t practical.
Mix 1 gallon of water with 1 cup of salt (non-iodized) in a spray bottle or watering can. Apply directly to the chickweed leaves on a dry, sunny day for best results. The saltwater will cause the plants to wilt within hours, though repeated applications may be needed for stubborn patches. Avoid using this method near desirable plants, as salt can harm them too.
This solution is perfect for urban gardeners or those with limited tools, offering a fast, chemical-free way to reclaim small areas. Just remember—it’s a short-term fix, so follow up with soil improvement to prevent regrowth. 💪
Ground Ivy Eradication with Corn Gluten Meal
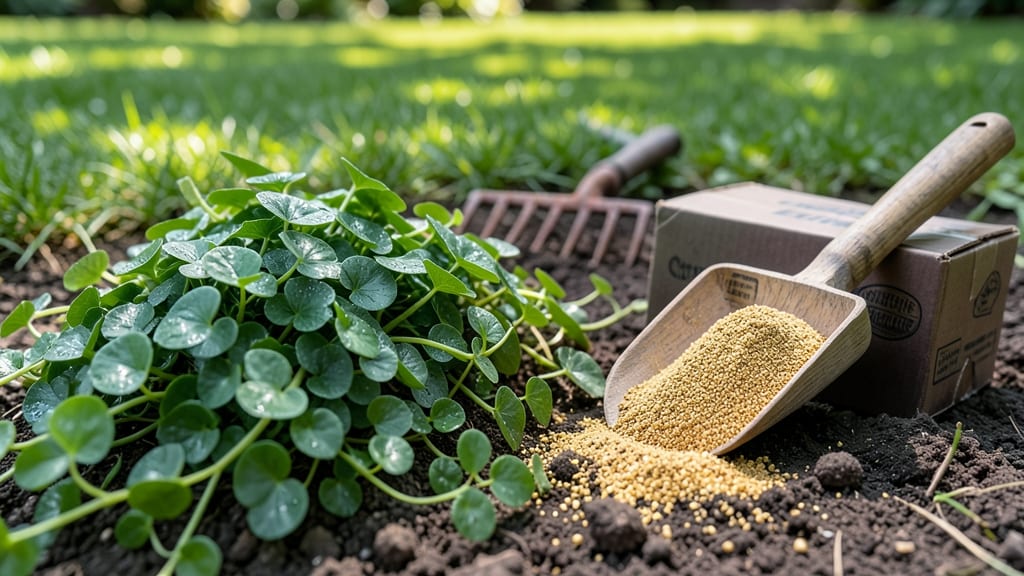
Tired of ground ivy creeping back into your lawn every spring? Corn gluten meal is your secret weapon—a natural, organic pre-emergent that stops those pesky seeds from sprouting before they start. Unlike harsh chemicals, it works by interrupting the growth hormones in weed seeds, making it perfect for shaded or damp areas where ground ivy thrives.
Apply 10-20 pounds per 1,000 square feet in early spring or fall, before weeds germinate. Water it in lightly to activate its seed-blocking properties. While it won’t kill existing ground ivy, it’ll prevent new seedlings from popping up, giving your grass a fighting chance. This method is also safe for pets and kids once settled into the soil.
Lawn owners with shady, moist patches or those transitioning to organic lawn care will love this low-cost, easy solution. Just remember: consistency is key—reapply annually for the best results. 💚
Knotweed Vine Cutting with Pruning Shears
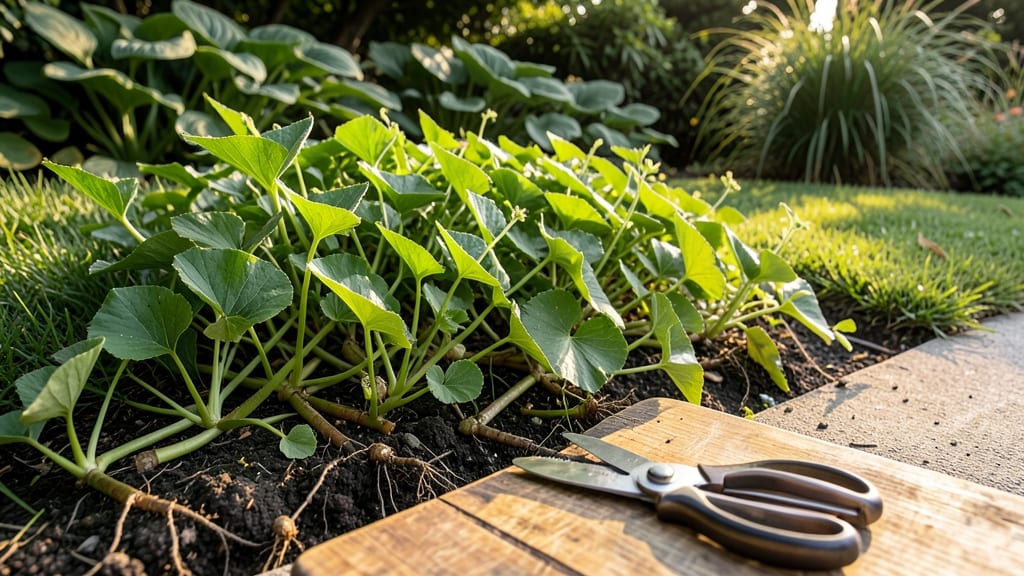
When knotweed takes over your lawn or garden edges, pruning shears become your most powerful tool—but only if you use them strategically. Unlike other weeds that respond to repeated trimming, knotweed actually weakens its root system when cut back consistently, making early intervention your best defense against its aggressive spread.
Start by cutting knotweed vines at ground level using sharp pruning shears, focusing on the red-tinged joints where new growth emerges. Unlike other methods, this approach works best when done monthly during the growing season—not sporadically. For stubborn patches, follow up by doubling down on cuts in the same spot to exhaust the plant’s energy reserves. Always wear gloves, as sap can irritate skin.
This method is ideal for urban gardeners or those with limited space, as it prevents knotweed from overtaking flower beds or walkways. With patience, you’ll see less regrowth over time as the roots gradually weaken. 💪
Plantain Weed Pulling with Garden Fork
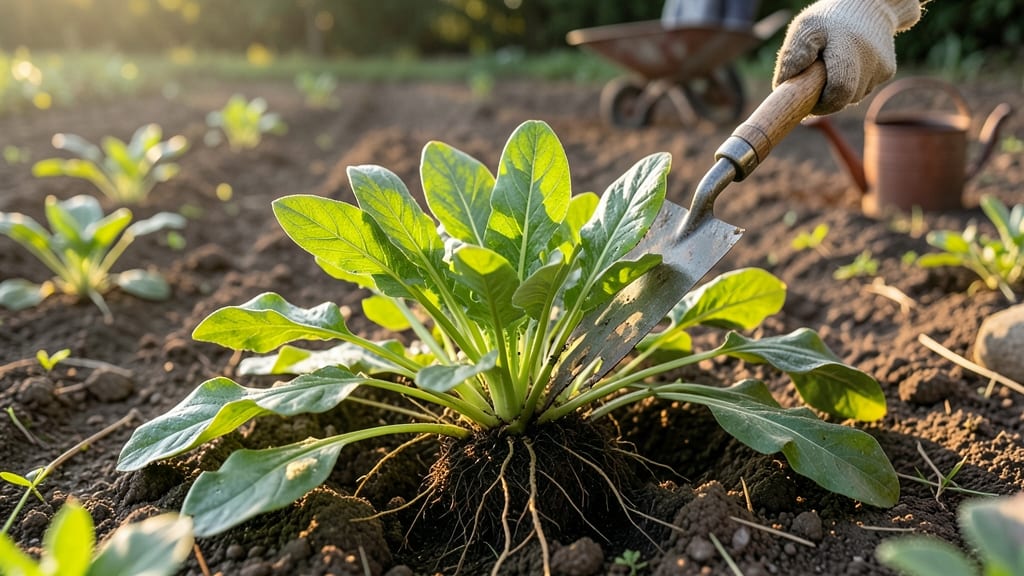
Tired of broadleaf plantain popping up like unwanted guests in your garden? This stubborn weed may look harmless, but its deep taproots make it tough to remove by hand alone. The secret weapon? A garden fork to loosen the soil and lift those roots cleanly—no regrowth, no fuss.
Start by inserting the fork’s tines just outside the plant’s base to avoid damaging nearby plants. Gently wiggle it side-to-side to break soil adhesion, then lift the entire root in one motion. For container gardens or small patches, this method works wonders without chemicals. Water the area afterward to help roots decompose faster.
Perfect for urban gardeners or anyone with limited space, this technique ensures plantain-free soil while keeping your garden tools sharp and your hands weed-free. 💪
Moss Replacement with Sand and Lime

If your lawn is dominated by thick moss instead of grass, you’re not alone—this non-creeping but stubborn invader thrives in compacted, acidic soil. The good news? A simple mix of sand and lime can transform your mossy carpet into a lush, grass-friendly foundation without harsh chemicals.
Start by spreading coarse sand (about ¼ inch deep) over the mossy areas to improve drainage, followed by pelletized lime to raise the soil pH to 6.0–7.0—the ideal range for grass. This dual approach suffocates moss by altering its growing conditions while creating space for grass seeds to take root. For best results, apply in early spring when temperatures are mild but rising.
This method is perfect for homeowners with shady or damp lawns where moss typically dominates. With patience and proper maintenance, you’ll see moss disappear while your grass thrives. ✨