
Lawn
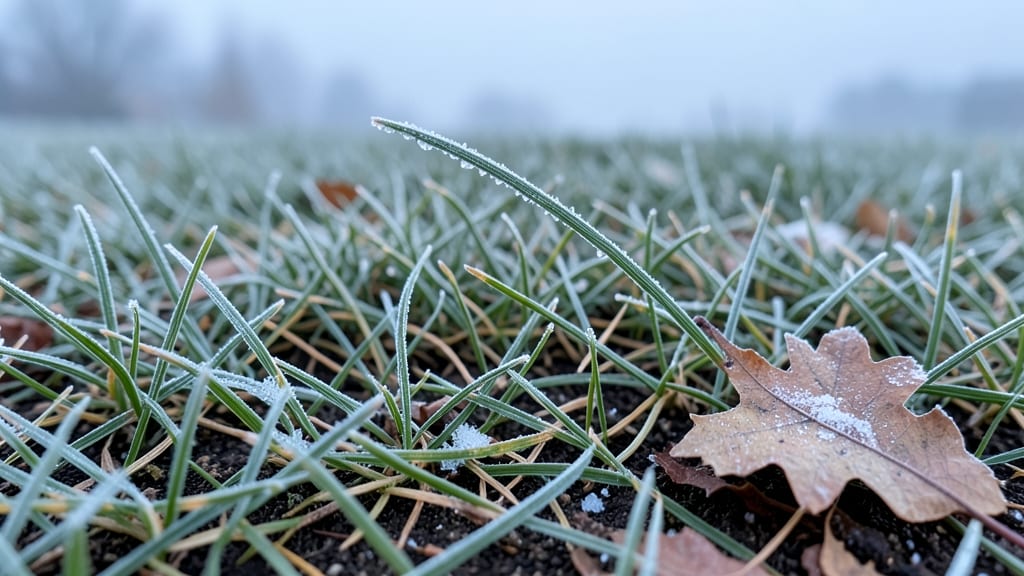
Leaving leaves on your lawn over winter turns your yard into a self-fertilizing ecosystem—no rake, no bags, just natural mulch that feeds your grass. 🌿 I used to haul away leaves every fall, thinking they were just yard waste, but now I let them stay for the free nutrient boost they provide.
The key is breaking them down before spring so they don’t smother the grass. This method works best in cold climates where leaves dry out and fragment naturally, but even in milder areas, you can shred them first.
The leaves decompose into rich organic matter, improving soil structure and reducing spring weeds. Just avoid thick piles that block sunlight from reaching the grass. You’ll notice healthier, greener lawns by early spring with fewer bare patches.
The grass roots stay warmer in winter, giving them a head start on growth. It’s like giving your lawn a free winter mulch—nature’s way of recycling. For best results, mow leaves into smaller pieces first or use a lawn mower to chop them up.
In wet climates, you might need to rake them into piles occasionally to prevent matting. This approach cuts your fall cleanup time by hours while improving your lawn’s health long-term.
📚 In This Guide
- What you need
- Instructions
- Tips and common mistakes
- Wrapping up and next steps
What you need
- ● Lawn leaves: A natural, even layer (about 1–3 inches thick) covering the entire lawn. (No need to rake them all up!)
- ○ Leaf blower or rake: For light cleanup or redistributing thick patches. (Optional but helpful for even coverage.)
- ● Garden gloves: A sturdy pair to protect your hands from twigs or sharp edges.
- ● Water source (hose or sprinkler): To lightly dampen leaves if they’re dry or brittle.
- ● Mulching mower: If you prefer finely shredded leaves for a tidier look. (Bonus: Reduces thatch buildup!)
- ● String trimmer: For trimming leaves along edges or tight spaces.
- ● Lawn fertilizer (low-nitrogen, winter-friendly): Apply lightly before leaf mulch for a slow-release boost.
- ● Soil test kit: To check pH and nutrient levels before winter. (Pro tip: Aim for a pH of 6.0–7.0 for optimal leaf decomposition!)
Step-by-Step guide to leaving leaves on your lawn over winter
Here's how to turn fallen leaves into a natural fertilizer—no bagging or hauling required.
🌿 Step 1: Rake Lightly to Avoid Smothering Grass
Walk across your lawn first to identify thick leaf piles—these are the spots that need attention. Use a rake to break up dense mats into smaller clumps, but don’t remove leaves entirely. The goal is to create a thin, even layer (about ¼ inch thick) that lets sunlight reach the grass below. Thicker piles block light and suffocate blades, leading to brown patches come spring.
Focus on areas under trees where leaves accumulate heavily. A quick pass with a leaf blower or rake will redistribute them naturally. I like to work in sections—start at one end of the yard and move systematically to avoid missing spots. This light approach mimics how leaves decompose naturally in forests, feeding the soil without harming grass.
⏰ Step 2: Wait for Leaves to Break Down Naturally
Leave the leaves where they are after raking. Over the winter, they’ll decompose into a nutrient-rich mulch, returning nitrogen, phosphorus, and potassium to the soil. This process works best when leaves are dry and brittle—wet leaves can clump and smother grass. If your winter is particularly mild, check the lawn every 2-3 weeks to fluff any compacted areas with a rake.
You’ll notice a difference in spring when the grass greens up more uniformly than neighbors who bagged leaves. The decomposed leaves also improve soil structure, helping roots absorb water more efficiently. Patience is key here—rushing to remove leaves defeats the purpose of this low-maintenance method.
☀️ Step 3: Mow Over Leaves Before Spring Growth Begins
When temperatures rise in early spring (around March or April, depending on your climate), mow the lawn as you normally would—but leave the grass clippings and leaf pieces behind. This chops the leaves into finer pieces that decompose faster. A second mowing in 2-3 weeks will further break down the material, ensuring it blends into the soil rather than sitting on top.
Watch for the first signs of grass growth—when you see 10-15% of the lawn turning green, it’s time to start mowing. If leaves still look thick, mow twice in one week to speed up decomposition. This step is the secret to turning leaves into a free, organic fertilizer without extra effort.
💧 Step 4: Water Lightly After Mowing to Settle Leaves
A light watering (about ¼ inch) after mowing helps settle the leaf fragments into the soil. Avoid deep watering at this stage—you want the leaves to decompose, not turn into a soggy mat. Water in the early morning to prevent fungal issues from overnight moisture. Over the next 4-6 weeks, you’ll see the leaves disappear into the lawn, enriching the soil naturally.
If your lawn has bare spots where grass didn’t winter well, the decomposed leaves will help fill those gaps by improving soil fertility. This is where the real magic happens—your lawn is essentially fertilizing itself, saving you time and money on spring treatments. Just keep an eye out for any remaining leaf clumps and fluff them with a rake if needed.
✂️ Step 5: Monitor and Adjust for Next Year
By late spring, most of the leaves should have decomposed, leaving behind a darker, richer soil. If you notice any areas where grass is still patchy, spread a thin layer of compost (about ¼ inch) over those spots to boost growth. This step ensures your lawn stays healthy even if some leaves didn’t break down completely.
For next winter, simply repeat the process—rake lightly, leave the leaves, and mow twice in early spring. Over time, your lawn will develop a thicker, more resilient root system thanks to the natural mulch. The best part? You’ll spend less time raking and bagging while still achieving a lush, green lawn. It’s a win-win for both your yard and your schedule.
Tips & tricks for perfect year-round lawn fertility
Here's what I've learned after years of experimenting with this no-fuss lawn care method.
Timing Secret: In Step 1, focus on breaking up leaves into clumps no larger than your fist. This creates the perfect surface area for decomposition while still allowing sunlight to reach the grass. I use a leaf blower first to redistribute leaves, then a rake to create those smaller piles—it takes half the time and gives better results.
Winter Monitoring: During Step 2, if your winter is particularly wet, check your lawn every 2-3 weeks to fluff any compacted areas. I've seen leaves clump into thick mats during rainy winters, which can suffocate grass. A quick pass with a rake keeps the process working smoothly and prevents spring surprises.
Spring Readiness: For Step 3, watch for those first green shoots as your signal to start mowing. I've found that mowing twice in one week (instead of waiting 2-3 weeks) speeds up decomposition dramatically. The key is to chop leaves into smaller pieces that disappear into the soil rather than sitting on top.
Watering Wisdom: In Step 4, that light watering is crucial for settling leaf fragments. I've learned the hard way that deep watering can create a soggy mat that defeats the purpose. Early morning watering prevents fungal issues while helping the leaves break down faster—it's one of those small details that makes all the difference.
Pro Tips for Leaving Leaves On Lawn Over Winter
- Here's what I've learned after years of experimenting with this no-fuss lawn care method.
- Timing Secret: In Step 1, focus on breaking up leaves into clumps no larger than your fist.
- Winter Monitoring: During Step 2, if your winter is particularly wet, check your lawn every 2-3 weeks to fluff any compacted areas.
Frequently asked questions
Will leaving leaves harm my lawn in winter?
Not at all! A thick layer of leaves (2–3 inches) actually protects grass from freezing and thawing cycles. Just avoid matting them down—rake or mulch them first. Pro tip: If leaves are wet or heavy, spread them evenly to prevent smothering.
When should I stop raking leaves for winter?
Ideally, leave them on before the first hard frost (late fall). If you wait until winter, they may compact and create a suffocating layer. Best time: Late October to early November, depending on your climate.
Can I just leave fallen leaves instead of mulching?
Yes! If leaves are dry and shredded (or chopped with a lawn mower), they’ll decompose naturally. For whole leaves, mulch them first to speed up breakdown. Alternative: Use a leaf blower to fluff them up before spreading.
Will leaving leaves attract pests like slugs or rodents?
Unlikely if leaves are dry and well-distributed. Wet, compacted leaves can attract slugs, but a light layer (1–2 inches) minimizes risks. Prevent pests: Rake up thick piles in spring to deter overwintering critters.
What if my lawn looks messy with leaves all winter?
No worries! A natural look is trendy and eco-friendly. For a cleaner look, mulch leaves with a lawn mower () or use a leaf vacuum. Bonus: The decomposed leaves = free fertilizer in spring!
Wrapping up and next steps
Leaving leaves on your lawn over winter isn’t just about convenience—it’s a game-changer for soil health and spring growth! 🌱 By embracing this natural mulch, you’re cutting back on chores, reducing waste, and giving your grass a head start. Plus, it’s a win for the planet, too.
Ready to try it? Start small this winter—clear a section of leaves and observe the difference by spring. Your lawn (and future you) will thank you! 💚