
Lawn
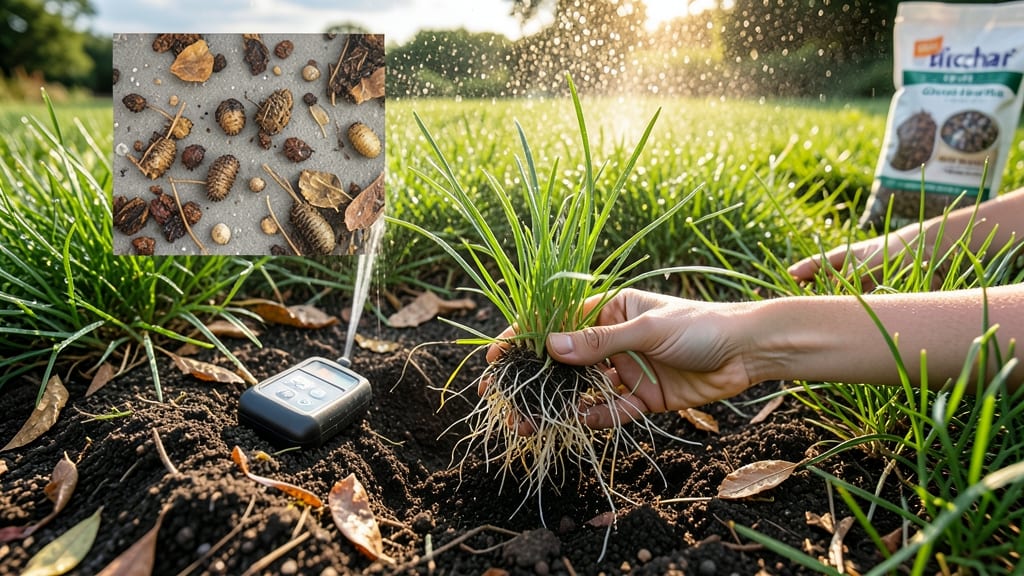
Creating a drought-resistant lawn starts with the right soil mix, and Sta-Green lawn soil delivers exactly that. 🌱 This specialized blend improves water retention, nutrient uptake, and root development—key factors for a thick, vibrant turf that stays green even during dry spells.
Unlike generic topsoil, it’s formulated to combat compacted soil and poor drainage, common issues that strangle grass roots. The secret lies in its organic matter-rich composition, which mimics the ideal growing conditions of professional golf courses.
You’ll see deeper root systems, fewer brown patches, and a lawn that recovers faster from foot traffic or heat stress. For best results, apply it during spring or fall when temperatures are mild and rainfall is steady.
Spread a 2- to 3-inch layer over your lawn, then lightly rake to integrate it with existing soil. Water thoroughly afterward to help it settle and activate. Within 4-6 weeks, you’ll notice stronger growth and a more uniform color—proof that the right soil makes all the difference.
This approach works for both new lawns and established ones needing a refresh. For clay-heavy soils, mix in additional sand for better drainage. The investment pays off in less watering, fewer weeds, and a lawn that stands out in the neighborhood. Ready to transform your turf?
📚 In This Guide
- What you need
- Instructions
- Tips and common mistakes
- Wrapping up and next steps
What you need
- ● Sta-Green Lawn Soil (Base): 1 part (e.g., 10 cubic feet for a small yard, adjust per square footage). Look for a blend labeled for turfgrass or drought-resistant lawns.
- ● Compost: 1 part (well-aged, organic compost to boost nutrients. Avoid fresh manure—it can burn grass roots!)
- ● Sand (Coarse): ½ part (improves drainage and aeration. Use builder’s sand, not fine play sand.)
- ● Peat Moss or Coco Coir: ½ part (retains moisture and adds structure. Coco coir is eco-friendly and works well in drought-prone areas.)
- ● Slow-Release Fertilizer: 1 cup per 50 sq. ft. (Choose a balanced NPK (e.g., 10-10-10) or a drought-resistant formula like Sta-Green’s own blend.)
- ○ Gypsum (Optional but Recommended): 1 lb per 100 sq. ft. (Helps break up compacted soil and improves calcium levels.)
- ● Garden Gloves (heavy-duty, waterproof)
- ● Wheelbarrow or Large Container (for mixing)
- ● Shovel & Spade (for digging and spreading)
- ● Rake (Bow or Leaf Rake) (to level and smooth the soil)
- ● Soil pH Test Kit (to check acidity before mixing; ideal range: 6.0–7.0 for Sta-Green blends)
- ● Water Hose with Spray Nozzle (for even hydration)
- ● Knee Pads or Stool (because let’s be real—you’ll be on the ground a lot!)
- ● Clear the Area: Remove weeds, rocks, and debris. Pro tip: Use a vinegar-based weed killer (like 20% acetic acid) 48 hours before mixing to avoid residue.
- ● Test Soil Drainage: Dig a 12-inch hole, fill it with water, and time how long it takes to drain. If it holds water for more than 6 hours, add extra sand to your mix.
- ● Check Weather Forecast: Aim to mix and apply soil on a cloudy day or evening to prevent drying too quickly.
- ● Hydrogel Crystals: ½ cup per 10 sq. ft. (retains up to 500x their weight in water—perfect for dry spells!)
- ● Biochar: 1 part per 10 parts soil (improves water retention and microbial activity).
- ● Mycorrhizal Fungi: 1 lb per 1,000 sq. ft. (boosts root growth and drought resilience).
- ● Mulch (Straw or Wood Chips): 2–3 inches (after seeding, to lock in moisture).
Step-by-Step instructions for crafting Sta-green lawn soil
Here's how to blend the perfect foundation for drought-resistant turf—every shovel counts.
🌱 Step 1: Select and Prepare Base Materials
Start with 60% topsoil as your foundation—this provides essential nutrients and structure. I sift it through a ½-inch mesh screen to remove rocks and debris that can disrupt root growth. Next, add 30% composted organic matter (like well-aged cow manure or leaf mold) to boost microbial activity and water retention. This mix ensures your lawn develops deep, resilient roots capable of withstanding dry spells.
For the remaining 10% of the blend, incorporate sand to improve drainage, especially if your native soil tends to compact. Use coarse sand (about 0.1 inch diameter)—fine sand clumps and defeats the purpose. I like to pre-moisten the sand slightly to help it bind better with the other components during mixing. This ratio balances fertility, aeration, and moisture control perfectly.
💧 Step 2: Layer and Blend Components Evenly
Spread the topsoil in a 4-inch layer across your work area. Use a garden rake to level it out—uneven surfaces create pockets where water pools or roots struggle. Next, sprinkle the composted organic matter evenly over the topsoil, working it in with a shovel until it's fully incorporated into the top 2-3 inches of the layer. You'll see dark, crumbly texture appear as you mix; this indicates proper integration.
Now, add the sand in a thin, even layer. I like to use a push broom to spread it uniformly before blending. Use a bow rake to gently fold the sand into the topsoil-compost mix, working from the center outward in concentric circles. This method prevents clumping and ensures even distribution. Once fully blended, the mix should resemble moist, dark brown sand—light enough to crumble between your fingers but cohesive enough to hold shape.
☀️ Step 3: Test and Adjust Moisture Content
Take a handful of the blended soil and squeeze it gently. If it holds together but crumbles easily when tapped lightly on a hard surface, the moisture level is perfect. If it stays clumped, add a light mist of water and remix. Too dry? Sprinkle water gradually until the mix feels like a damp sponge—this prevents compaction and encourages root penetration. I find that a 5-gallon watering can with a fine rose attachment works best for even moisture distribution.
For a final check, press your thumb into the soil. It should leave a slight indentation but not a deep hole. This firmness supports seedling roots while allowing air and water to move freely. If the mix feels too loose, add a bit more water; if it's too dense, mix in an extra 5% sand to lighten it. The goal is a texture that feels like a well-worn hiking trail—firm but not rock-hard.
✂️ Step 4: Spread and Level for Planting
Shovel the finished soil onto your prepared lawn area in 2-inch layers, spreading it evenly with a flat-edged shovel. Work in small sections to maintain consistency—large piles can settle unevenly. Use a leveling board (or a straight 2x4) to create a perfectly flat surface, dragging it back and forth across the soil. This step is critical for preventing water runoff and ensuring uniform grass growth.
Once leveled, give the soil a final light raking with a stiff-bristled lawn rake. This breaks up any remaining clumps and creates a fine, seedbed-like texture ideal for seeding or sod installation. Pay special attention to edges and corners where soil tends to settle unevenly. If you're seeding, lightly press the soil with a roller to ensure good seed-to-soil contact—this maximizes germination rates and root establishment.
Tips & tricks for perfect drought-resistant lawn soil
These precision techniques will help you create a flawless foundation for your lawn that thrives even during dry spells.
Screening Matters: When sifting your topsoil through the ½-inch mesh screen in Step 1, don't rush this process. I've found that taking an extra minute to remove all debris pays off in the long run—those small rocks can create uneven growth patterns and water pockets that stress your grass. For larger batches, consider using a mechanical screen if you have one available; it saves time while maintaining consistency. The goal is to create a smooth, uniform base where roots can spread freely.
Compost Quality Check: In Step 1, when selecting your 30% composted organic matter, look for well-aged compost that resembles dark, crumbly soil rather than fresh, chunky material. Fresh compost can contain weed seeds or uneven decomposition that may harm your lawn. I prefer cow manure or leaf mold because they break down uniformly and provide balanced nutrition. If you're unsure about your compost's quality, give it the "squeeze test"—it should hold together slightly when moistened but still break apart easily.
Layering Technique: During Step 2, when spreading your 4-inch topsoil layer, work in small sections no larger than 4 feet by 4 feet. This prevents the soil from drying out unevenly while you're working. I've learned that using a straight-edged shovel to create clean, level edges between sections makes the leveling process in Step 4 much easier. Also, keep your garden rake clean between sections to avoid transferring debris that could create weak spots in your lawn foundation.
Moisture Consistency: In Step 3, when testing your soil's moisture content, pay attention to the visual cues beyond just the squeeze test. The perfect moisture level should look like damp sandcastle sand—it holds together when pressed but still crumbles when tapped. If you're working in hot conditions, I recommend adding water in smaller increments rather than all at once. This prevents over-saturating the mix, which can lead to compaction when you spread it in Step 4. A spray bottle works well for making precise adjustments to small batches.
Pro Tips for Sta Green Lawn Soil
- These precision techniques will help you create a flawless foundation for your lawn that thrives even during dry spells.
- Screening Matters: When sifting your topsoil through the ½-inch mesh screen in Step 1, don't rush this process.
- Compost Quality Check: In Step 1, when selecting your 30% composted organic matter, look for well-aged compost that resembles dark, crumbly soil rather than fresh, chunky material.
Frequently asked questions
What’s the best ratio of Sta-Green soil to existing lawn soil for a new mix?
For most lawns, a 50/50 blend of Sta-Green soil and your existing topsoil works wonders. If your soil is heavy clay or sandy, lean toward 60% Sta-Green to improve drainage and nutrient retention. Always test your current soil first—local extension offices can help!
How long does it take to see results after applying Sta-Green soil?
You’ll notice improved color and density within 2–4 weeks, but full benefits (like drought resistance) take 3–6 months as roots adjust. Water lightly after application to help the mix settle, and avoid heavy foot traffic for a week to let the soil bond with grass.
Can I use Sta-Green soil on a newly seeded lawn?
Yes! Wait until seeds have germinated and reached 2–3 inches tall before applying a thin (½-inch) layer of Sta-Green. This prevents smothering young grass while still boosting root health. For established lawns, top-dress in early spring or fall for best results.
What if my lawn still looks patchy after adding Sta-Green soil?
Patchiness often signals uneven application, poor watering, or compaction. Aerate first, then spread the soil evenly with a rake. Water deeply 2–3 times weekly (1–1.5 inches total) and consider a slow-release fertilizer like Sta-Green’s Lawn Food to fill gaps.
Is Sta-Green soil worth the investment compared to cheaper alternatives?
Absolutely—if you prioritize longevity.
While topsoil or compost blends cost less upfront, Sta-Green’s precision formula (with mycorrhizal fungi and slow-release nutrients) reduces water bills by 30–50% and cuts reseeding needs. Think of it as a low-maintenance upgrade for your lawn’s health.
Still curious?
Drop your specific scenario in the comments—we’re happy to tailor advice for your yard’s unique needs!
Wrapping up and next steps
A Sta-Green lawn soil mix is your secret weapon for achieving that showstopping, drought-resistant turf you’ve always dreamed of! 🌱 By blending the right ratios of sand, loam, organic matter, and Sta-Green’s proprietary formula, you’re not just planting grass—you’re building a resilient, nutrient-rich foundation.
The effort pays off in vibrant, healthy lawns that thrive even when others wilt.
Ready to transform your yard? Start small—test the recipe on a patch of your lawn first, then expand as confidence (and results!) grow. And remember: consistency is key—keep monitoring soil health and adjust as needed. Happy gardening! 🌿