
Lawn
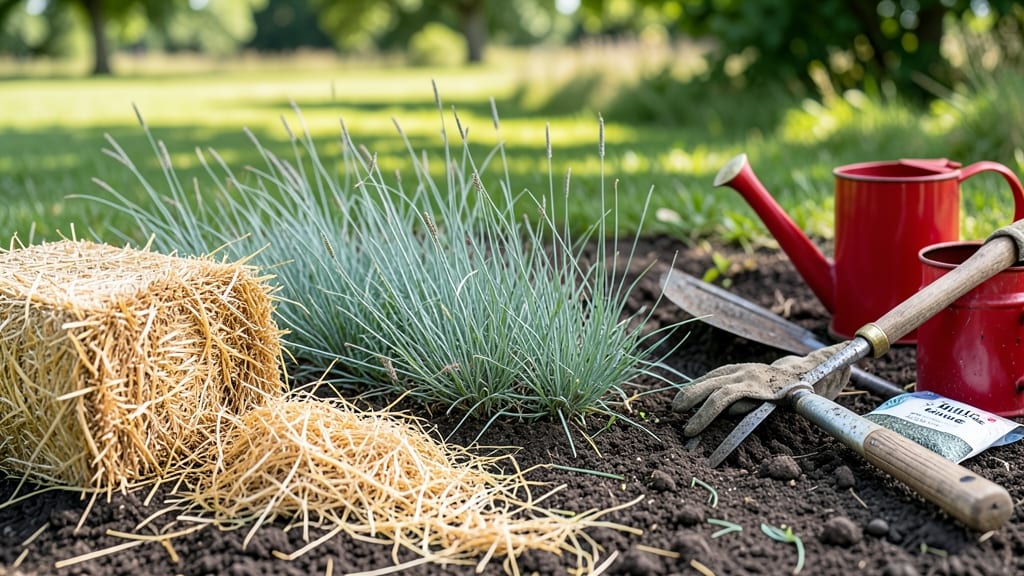
A lightweight mulch layer keeps your new lawn seed moist and weed-free while it germinates. 🌱 I’ve learned that the right mulch—whether straw, peat moss, or even shredded leaves—can mean the difference between a thick, green lawn and patchy, struggling grass.
The key is balance: too little mulch lets moisture escape, while too much suffocates the seeds.
You’ll need about ¼ to ½ inch of mulch spread evenly over the seeded area, just enough to shield the soil without blocking sunlight. Straw is the most common choice because it breaks down slowly and won’t clump, but peat moss works well in cooler climates.
Avoid thick layers of wood chips or grass clippings—they can mat down and prevent seeds from sprouting.
Once applied, keep the mulch damp (not soggy) until germination, which typically takes 7–21 days depending on the grass type. The mulch will protect tender seedlings from drying out while also blocking weeds that compete for nutrients.
Water lightly but frequently—just enough to keep the top inch of soil consistently moist.
Timing matters too: apply mulch right after seeding and before the first hard rain. If you wait too long, the seeds may dry out or get washed away.
And remember—once the grass reaches 2–3 inches tall, you can remove the mulch entirely. The roots will be strong enough to handle regular watering and mowing.
📚 In This Guide
- What you need
- Instructions
- Tips and common mistakes
- Wrapping up and next steps
What you need
- ● Lawn seed: Choose a high-quality blend suited to your climate (e.g., Kentucky bluegrass, fescue, or ryegrass). Aim for 1–2 lbs per 100 sq ft.
- ● Peat moss or coconut coir: 1 part (lightweight, retains moisture). Use 1–2 cups per 10 sq ft.
- ● Compost or aged manure: ½ part (adds nutrients). ½–1 cup per 10 sq ft is ideal.
- ○ Sand (optional but recommended): ½ part (improves aeration). Use ½ cup per 10 sq ft.
- ● Garden rake (for spreading and leveling)
- ● Wheelbarrow or large bucket (for mixing)
- ● Garden gloves (to protect your hands)
- ● Hose with a fine spray nozzle (for moisture control)
- ● Measuring cups or scale (for precise ratios)
- ● Prepared soil: Clear debris, loosen top 2–3 inches of soil, and rake smooth.
- ● Weather check: Apply mulch on a cool, cloudy day to prevent drying.
- ● Moisture test: Soil should be damp (like a wrung-out sponge) before applying.
- ● Starter fertilizer: Mix in ½ cup per 10 sq ft for a nutrient boost.
- ● Bio-degradable netting: Lightly lay over seed to deter birds (remove after germination).
- ● Watering can with a fine rose: For gentle, even moisture application.
Step-by-Step instructions for making lightweight lawn seed mulch
Here's the easy method I use to create a breathable, moisture-retaining mulch that protects new grass without smothering it.
🌱 Step 1: Gather Your Base Materials
You'll need 4 gallons of dry, sifted peat moss—this gives the mulch its lightweight structure while holding moisture. Mix in 2 gallons of coarse sand to improve drainage and prevent compaction. I like to use a 5-gallon bucket for mixing, as it gives enough room to blend everything evenly without spills.
Sift the peat moss first to remove any large chunks or debris—this ensures your mulch stays fluffy and doesn't clump when applied. The sand should be coarse, not fine, to maintain airflow to the soil and seeds below. If you don't have sand, 1 gallon of perlite works too, but it's pricier.
💧 Step 2: Add Moisture-Retention Boost
Now stir in 1 cup of hydrated horticultural gel crystals—these tiny beads expand when wet and hold up to 400 times their weight in water. This is the secret to keeping your new lawn seed moist for weeks without daily watering. Sprinkle them in slowly while mixing to distribute evenly.
For extra staying power, add ½ cup of powdered compost to introduce beneficial microbes that help seeds germinate faster. The compost also adds trace nutrients that young grass roots will love. Mix everything thoroughly until the gel crystals are fully incorporated and the blend looks uniformly dark.
☀️ Step 3: Test and Apply the Mulch
Spread a thin layer—about ¼ inch thick—over your freshly sown lawn seed. This thickness protects seeds from drying out while still allowing sunlight to reach them. I like to use a flat-headed rake to distribute it evenly, working in one direction to avoid disturbing the seed.
Lightly water the mulch immediately after applying to activate the gel crystals. You'll see the surface darken slightly as the crystals begin absorbing moisture. This mulch will stay damp for 2-3 weeks, so you won't need to water again until new grass blades appear. Avoid walking on the area until germination occurs—about 10-14 days—to prevent disturbing the seed.
✂️ Step 4: Maintain and Monitor
Check the mulch every 3-4 days for dryness. If the top feels slightly dry to the touch, give it a light misting with a fine spray nozzle. The gel crystals will reabsorb moisture quickly, so you won't need heavy watering. Once grass reaches 2-3 inches tall, remove the mulch with a rake to prevent thatch buildup.
Here's the thing—if you see mold or fungus developing on the mulch surface, it's getting too wet. Fluff it up with a rake to improve airflow immediately. The mulch should look slightly damp but never soggy. This lightweight blend prevents compaction while keeping roots hydrated, so you'll see strong, even germination across your entire lawn.
Tips & tricks for perfect lawn seed mulch
Here's what I've learned after perfecting this mulch blend for years—these small details make all the difference.
The Sifting Secret: Don't skip sifting that 4 gallons of peat moss! I learned this the hard way after applying clumpy mulch that ended up smothering my seed. Use a fine mesh screen to remove every speck of debris—this keeps your mulch light and airy. The goal is to mimic nature's loose topsoil, not create a dense mat. For extra fluffiness, I like to spread the sifted peat moss on a baking sheet and gently break up any remaining clumps with my hands before mixing.
Gel Crystal Magic: Those 1 cup of hydrated horticultural gel crystals are the game-changer, but timing matters! Add them gradually while mixing to ensure even distribution—lumps will create dry spots in your mulch. After application, you'll notice the surface darken as the crystals absorb moisture. This visual cue confirms they're working. Pro tip: If you're worried about overwatering later, these crystals will hold up to 400 times their weight, so you can't overdo it with watering.
Thickness Matters: That ¼ inch thickness in Step 3 is critical—any thicker and you'll block sunlight needed for germination. Use a straightedge or ruler to check thickness in several spots. For large areas, I mark my rake at the ¼ inch point with tape so I can sweep consistently. Remember, this mulch should look like a light dusting of snow, not a heavy blanket. The goal is protection without suffocation.
Mold Prevention: If you see mold developing between those 3-4 day checks, it's a sign of too much moisture. The fix is simple: fluff with a rake to improve airflow immediately. I've found that spreading the mulch in the morning gives any excess moisture time to evaporate before nightfall. The crystals should keep things damp, not soggy—think of it like a well-worn sponge, not a dripping wet rag.
Pro Tips for Lawn Seed Mulch
- Here's what I've learned after perfecting this mulch blend for years—these small details make all the difference.
- The Sifting Secret: Don't skip sifting that 4 gallons of peat moss!
- Gel Crystal Magic: Those 1 cup of hydrated horticultural gel crystals are the game-changer, but timing matters!
Frequently asked questions
Got questions about using lawn seed mulch? You’re not alone! Here are some of the most common queries—and their simple, practical answers to help you get the best results.
What’s the best time of year to apply lawn seed mulch?
For cool-season grasses (like fescue or ryegrass), aim for early fall or late summer when soil temps are 60–75°F. Warm-season grasses (like Bermuda or Zoysia) thrive with mulch in late spring or early summer. Always mulch right after seeding—never before—to protect fresh seeds from drying out or bird interference.
How long does mulch stay effective on new grass seed?
Lawn seed mulch typically stays effective for 4–6 weeks as seeds germinate. After that, it may break down or get washed away. If your grass is still patchy after 6 weeks, consider a light reapplication or switch to straw for longer coverage. Avoid over-mulching—too much can suffocate seedlings!
Do I need to water differently with mulch covering my seeds?
Yes! Mulch helps retain moisture, but you’ll still need to water lightly but frequently—about ¼ inch per day for the first 2 weeks. Use a fine mist setting on your sprinkler to avoid displacing seeds. Once sprouts appear (usually 7–14 days), you can gradually reduce watering to deeper, less frequent sessions.
Can I use straw or peat moss instead of lawn seed mulch?
Straw is a popular alternative—it’s cheap, biodegradable, and works well for most grasses. Peat moss is another option but can acidify soil over time, so use it sparingly. Avoid hay (it may contain weed seeds) or wood chips (they can mat down and block light). Always sterilize your mulch first to kill weeds or pests.
What should I do if mold or fungus grows under the mulch?
If you spot black or fuzzy growth under the mulch, it’s likely mold or fungus—common in damp, shaded areas. Remove the mulch immediately, rake the area, and let it dry in the sun for a day. Reapply mulch only after the soil is dry, and consider adding a fungicide if the issue persists. Improve airflow by thinning the mulch layer (¼ inch max) next time.
How do I remove old mulch without harming new grass?
Once your grass is 2–3 inches tall and established (usually 6–8 weeks), gently rake up leftover mulch with a plastic rake (metal can damage sprouts). Work in small sections to avoid uprooting grass. Compost the old mulch or use it in garden beds. If you missed some, it’ll break down naturally—just keep mowing at 3–4 inches to encourage healthy growth.
Wrapping up and next steps
Using lawn seed mulch is a game-changer for keeping your grass hydrated, healthy, and thriving—especially in hot or dry climates! 🌱 By locking in moisture, shielding seeds from erosion, and promoting faster germination, you’re not just saving time; you’re giving your lawn the best possible start.
Whether you’re a seasoned gardener or a beginner, this simple technique makes lawn care easier and more effective.
Ready to transform your lawn? Gather your materials, follow the steps, and watch your grass flourish! Start small—try a patch first—and soon, you’ll be the envy of the neighborhood with that lush, green carpet. 🌿