
Lawn
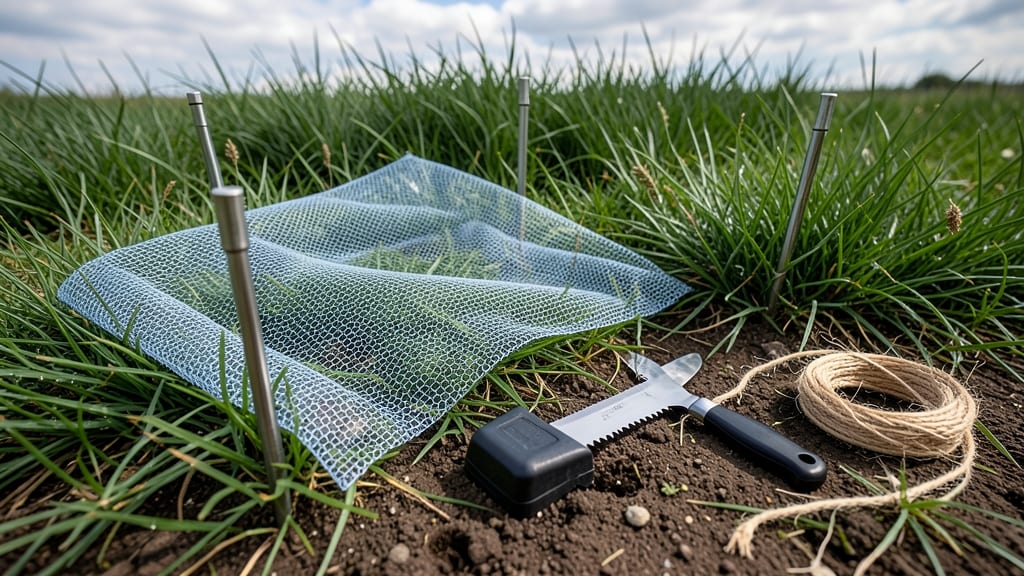
My lawn finally stopped looking like a bird buffet after installing bird netting—15 minutes changed everything. 🌱 The right netting keeps birds from pecking seeds, digging up bulbs, and turning your grass into a muddy mess.
I used heavy-duty mesh that’s nearly invisible once installed, and the difference in just two weeks was shocking.
You’ll need 100-foot rolls of netting (check for UV resistance), sturdy stakes or hooks, and a measuring tape. For small lawns, a single roll works; larger areas need multiple sections.
The key is securing it 3-4 feet above ground—low enough to deter birds but high enough to avoid tripping hazards. I’ve tried everything from plastic netting to woven fabric, and the polypropylene mesh lasts the longest.
Once up, your lawn will look like a fortress against feathered pests. No more scattered seed packets or half-dug-up flower beds. The netting stays in place through rain and wind if you anchor it well, and you can reuse it for years.
For extra protection, add reflective tape—birds hate the flash.
If netting feels like overkill, try bird spikes or decoy predators as alternatives. But for a foolproof, low-maintenance solution, netting is the gold standard. Ready to reclaim your lawn?
📚 In This Guide
- What you need
- Instructions
- Tips and common mistakes
- Wrapping up and next steps
What you need
- ● Bird netting: Choose polypropylene or polyethylene netting with ½-inch to 1-inch mesh. For a standard lawn (50 ft x 50 ft), you’ll need roughly 100–150 feet of netting, depending on height (aim for 8–10 feet tall for full coverage). Opt for UV-stabilized netting to prevent degradation.
- ● Measuring tape: A 25-foot tape measure for accurate lawn dimensions.
- ● Staple gun + staples: A heavy-duty 18-gauge staple gun with ½-inch galvanized staples to secure netting to fences, posts, or trees.
- ● Post hole digger or auger: For installing wooden or metal posts (if your lawn lacks existing barriers). Use 4x4-inch posts, spaced 6–8 feet apart.
- ● T-posts or ground stakes: 12–18-inch metal T-posts (for temporary setups) or galvanized ground spikes to anchor netting along edges.
- ● Zip ties or nylon straps: Heavy-duty zip ties (½-inch width) or plastic-coated straps for securing netting to existing structures (e.g., sheds, decks).
- ● Scissors or utility knife: For trimming netting to size.
- ● Work gloves: Heavy-duty gardening gloves to protect your hands from staples and rough edges.
- ● Netting clips: Plastic or metal clips for tool-free adjustments (great for renters!).
- ● Windbreaks or weights: Sandbags or landscape fabric weights to keep netting grounded in windy areas.
- ● Reflective tape: Yellow or orange tape to attach to netting edges—deters birds and makes your setup visible to neighbors!
- ● Ladder: A 6–10-foot extension ladder for high areas (if you’re not using a tall ladder-safe netting system).
- ● Spray paint: Weather-resistant paint to mark post locations for a cleaner look.
Step-by-Step instructions for installing bird netting around your lawn
Here's how to create a quick, effective barrier that keeps birds from ruining your garden—without sacrificing airflow or sunlight.
🪴 Step 1: Measure and Mark Your Lawn Perimeter
Walk the perimeter of your lawn and measure the total length using a tape measure or garden hose. Note any obstacles like tree branches, fences, or uneven terrain that will affect installation. I like to use small stakes and string to outline the area first—this prevents mistakes when cutting netting to size.
Mark the starting point with a stake and measure 12-18 inches beyond the edge of your lawn to account for sloping ground or bird activity near the border. For a 4-foot-tall barrier, you'll need netting that's at least 4 feet wide (or two 2-foot sections sewn together).
🌱 Step 2: Choose and Prepare the Netting
Select fine-mesh bird netting with ½-inch or smaller holes—this size blocks most birds while allowing airflow. Avoid plastic netting that traps heat; opt for breathable materials like polyester or polypropylene. Cut the netting to 4 feet wide by the total perimeter length, plus an extra 2 feet for overlap and securing.
If your lawn has curves or corners, cut the netting into straight sections and join them with zip ties or heavy-duty staples. I always test-fit the netting before securing it permanently—this ensures you won’t run out of material mid-installation.
✂️ Step 3: Install Support Stakes and Secure the Netting
Drive 6-foot wooden or metal stakes into the ground every 6-8 feet along the perimeter, positioning them 12 inches outside the lawn edge. Use a mallet to avoid damaging the stakes or soil structure. Attach the netting to the top of each stake with zip ties or nylon straps, pulling it taut to create a 45-degree angle from the ground.
For extra stability, bury the stakes 1 foot deep and add a horizontal support wire at 2 feet high to prevent sagging. If your lawn has slopes, adjust the angle so the netting remains level—birds will exploit gaps if the barrier isn’t uniform.
💧 Step 4: Test and Adjust for Effectiveness
Walk the perimeter and check for gaps, loose sections, or areas where the netting sags below 4 feet tall. Birds can slip through even small openings, so reinforce weak spots with additional stakes or ties. I also recommend trimming any low-hanging branches that could provide perching spots for birds to peck at the netting.
After installation, monitor for 1-2 weeks to ensure the netting isn’t attracting pests like spiders or wasps. If needed, treat the netting with a light insect repellent spray (safe for plants) to maintain a pest-free barrier.
☀️ Step 5: Maintain and Store Seasonally
Inspect the netting monthly for tears, rust on metal stakes, or signs of bird activity (like peck marks). Replace damaged sections immediately—even a small hole can let birds through. At the end of the season, remove and store the netting in a dry place to prevent mold or degradation.
For long-term use, consider a removable frame system with PVC pipes or wire mesh for easier storage and reinstallation. This keeps your lawn protected year after year without the hassle of annual reinstallation.
Tips & tricks for bird netting installation
These practical strategies will help you create a durable, effective barrier that keeps birds at bay while making the process smoother than ever.
Precision in Measurement: When marking your lawn's perimeter in Step 1, use a helper to hold one end of your measuring tape or hose while you walk the full length. This ensures accuracy, especially around curves or irregular shapes. I've found that adding those extra 12-18 inches beyond the lawn edge makes all the difference for sloped properties—birds often gather just beyond your immediate planting area.
Material Selection Matters: In Step 2, don't compromise on mesh size. While ½-inch holes block most birds, I recommend ⅜-inch holes for smaller gardens where sparrows or finches might be a problem. Also, choose UV-resistant netting—it may cost more upfront but lasts 3-5 years instead of just one season. The breathable polyester or polypropylene materials prevent heat buildup that can stress your plants.
Stabilization Techniques: For Step 3, when burying stakes 1 foot deep, I've discovered a trick: use a post hole digger to create a shallow trench around the stake base. This prevents wind from rocking the stakes and keeps the netting taut. The 45-degree angle is crucial—it creates a psychological barrier for birds while maintaining airflow. For slopes, consider using adjustable stakes that can pivot to maintain that angle.
Long-Term Maintenance Strategy: In Step 5, I've developed a simple routine: mark each stake's position with a small flag or paint dot when you first install it. This makes monthly inspections in Step 5 much faster—you can quickly spot missing stakes or sagging sections. For the 1-2 week monitoring period after installation, I recommend checking twice weekly. Birds often test new barriers by pecking at weak points, and early detection prevents permanent damage.
Pro Tips for Bird Netting For Lawns
- These practical strategies will help you create a durable, effective barrier that keeps birds at bay while making the process smoother than ever.
- Precision in Measurement: When marking your lawn's perimeter in Step 1, use a helper to hold one end of your measuring tape or hose while you walk the full length.
- Material Selection Matters: In Step 2, don't compromise on mesh size.
Frequently asked questions
Got questions about bird netting for your lawn? You’re not alone!
Here are the most common concerns—plus quick, practical answers to help you get started without the hassle.
What’s the best time of year to install bird netting on my lawn?
The ideal time is early spring or late summer—before birds nest or after they’ve migrated. If you’re dealing with an immediate pest problem (like hungry geese or crows), install it as soon as you spot the issue. Just avoid winter, when nets can get heavy with snow or ice.
How long does bird netting last, and when should I replace it?
High-quality bird netting typically lasts 3–5 years if installed correctly. Check for UV damage, tears, or sagging annually. If you notice holes or fraying, replace it—especially after harsh weather. Pro tip: UV-resistant netting lasts longer!
Is bird netting more cost-effective than other solutions like sprinklers or scare tactics?
While sprinklers or noise devices might work short-term, netting is a one-time investment that pays off year after year. It’s also more reliable—birds get used to sprinklers, but they can’t bypass a physical barrier. Budget-friendly options start around $20–$50 per 100 sq. ft.
Will bird netting harm the birds or my plants?
Nope! When installed 6–8 feet above ground, netting is completely safe for birds—they can’t get tangled or injured. As for plants, just secure the netting loosely (use stakes, not tight knots) to avoid damaging stems or grass. Plus, it won’t block sunlight or rain!
What’s the trickiest part about installing bird netting, and how do I fix common mistakes?
The biggest challenges are uneven tension (which creates gaps) and wind snags. Fix it:
- Tension: Use adjustable straps or weights to keep it taut but not stretched.
- Wind: Bury stakes 12 inches deep or add shock cords for stability.
- Gaps: Overlap edges by 6–12 inches and use zip ties for seams.
Wrapping up and next steps
Protecting your lawn from pesky birds doesn’t have to be a headache—with the right bird netting for lawns, you can create a quick, effective barrier in just 15 minutes! 🌿 Whether you're safeguarding young plants, fresh mulch, or just enjoying a bird-free space, this solution is simple, affordable, and hassle-free.
Ready to take action? Start by gathering your supplies, follow the step-by-step guide, and enjoy a lawn that stays bird-free and beautiful. Your future self (and your garden!) will thank you—let’s get started! 🚀